Creating a Program
Step-by-step guide to creating a coaching program in AllCoach — from title and price to activities, sessions, and publishing.
Last updated on May 19, 2026
Creating a Program
This guide walks through creating a program from scratch, configuring its settings, and making it available for purchase.
Step 1: Create the Program
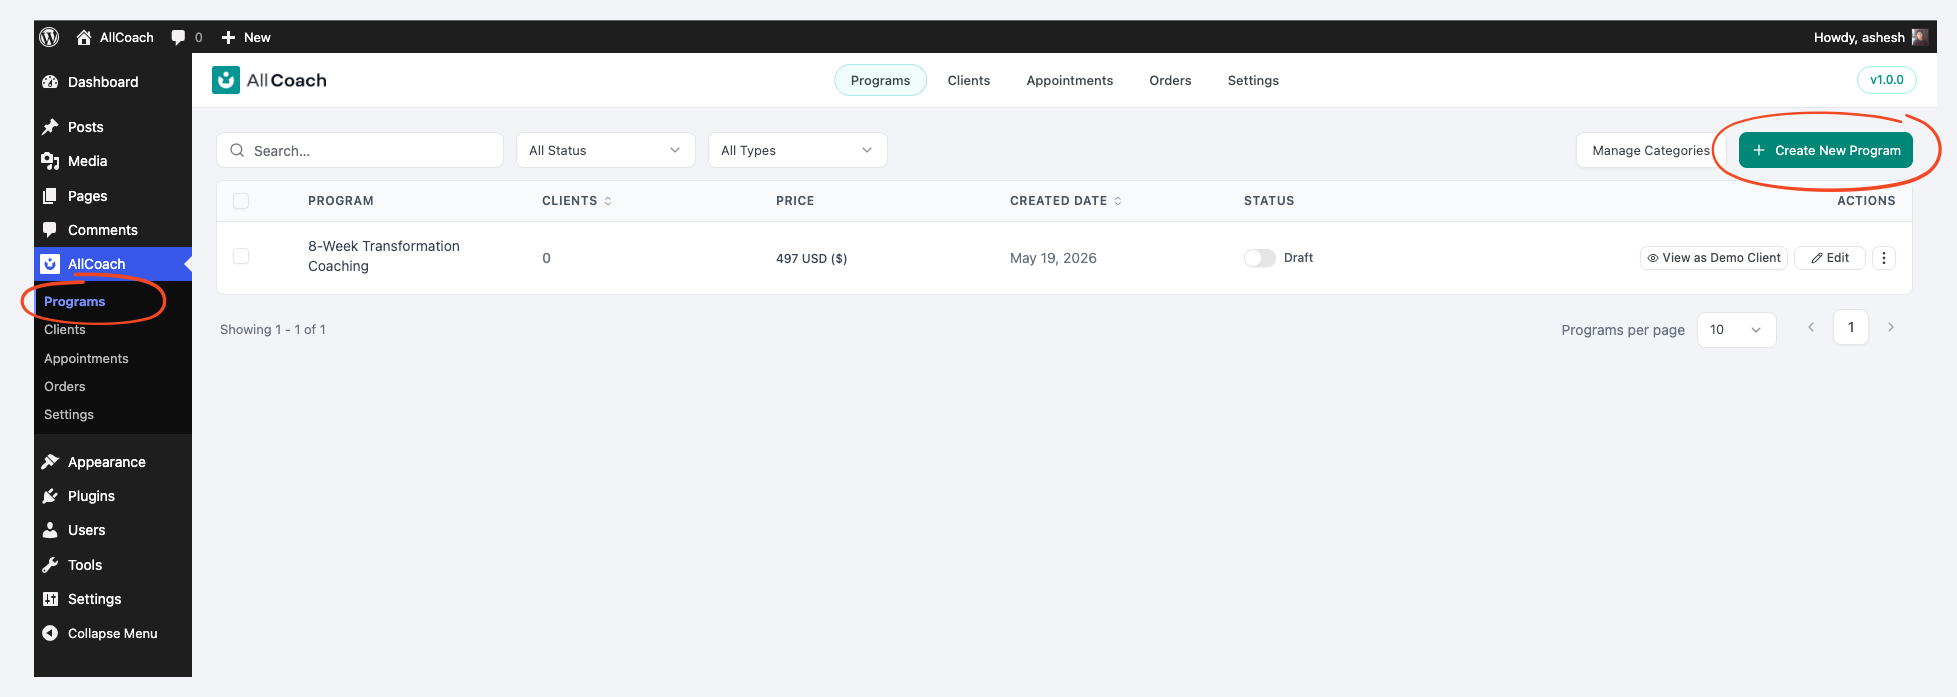
Go to AllCoach → Programs
Click Add New Program
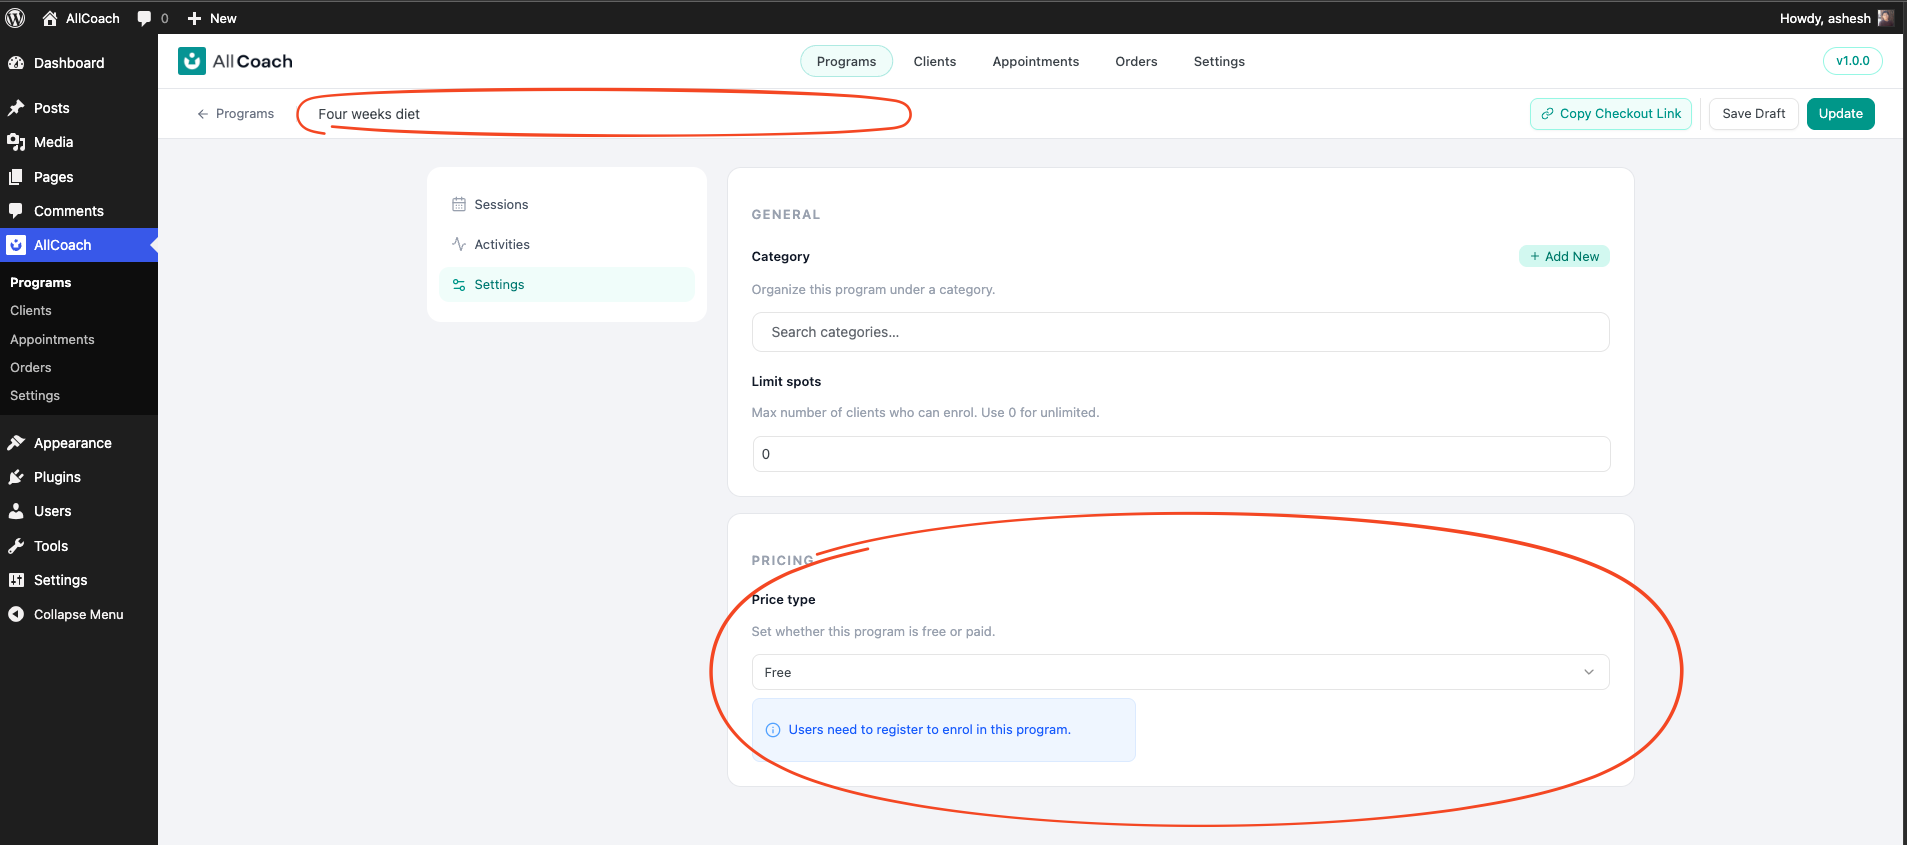
Fill in:
Title — the name clients will see (e.g. "8-Week Business Breakthrough")
Price — set to 0 for free
Step 2: Configure Sessions
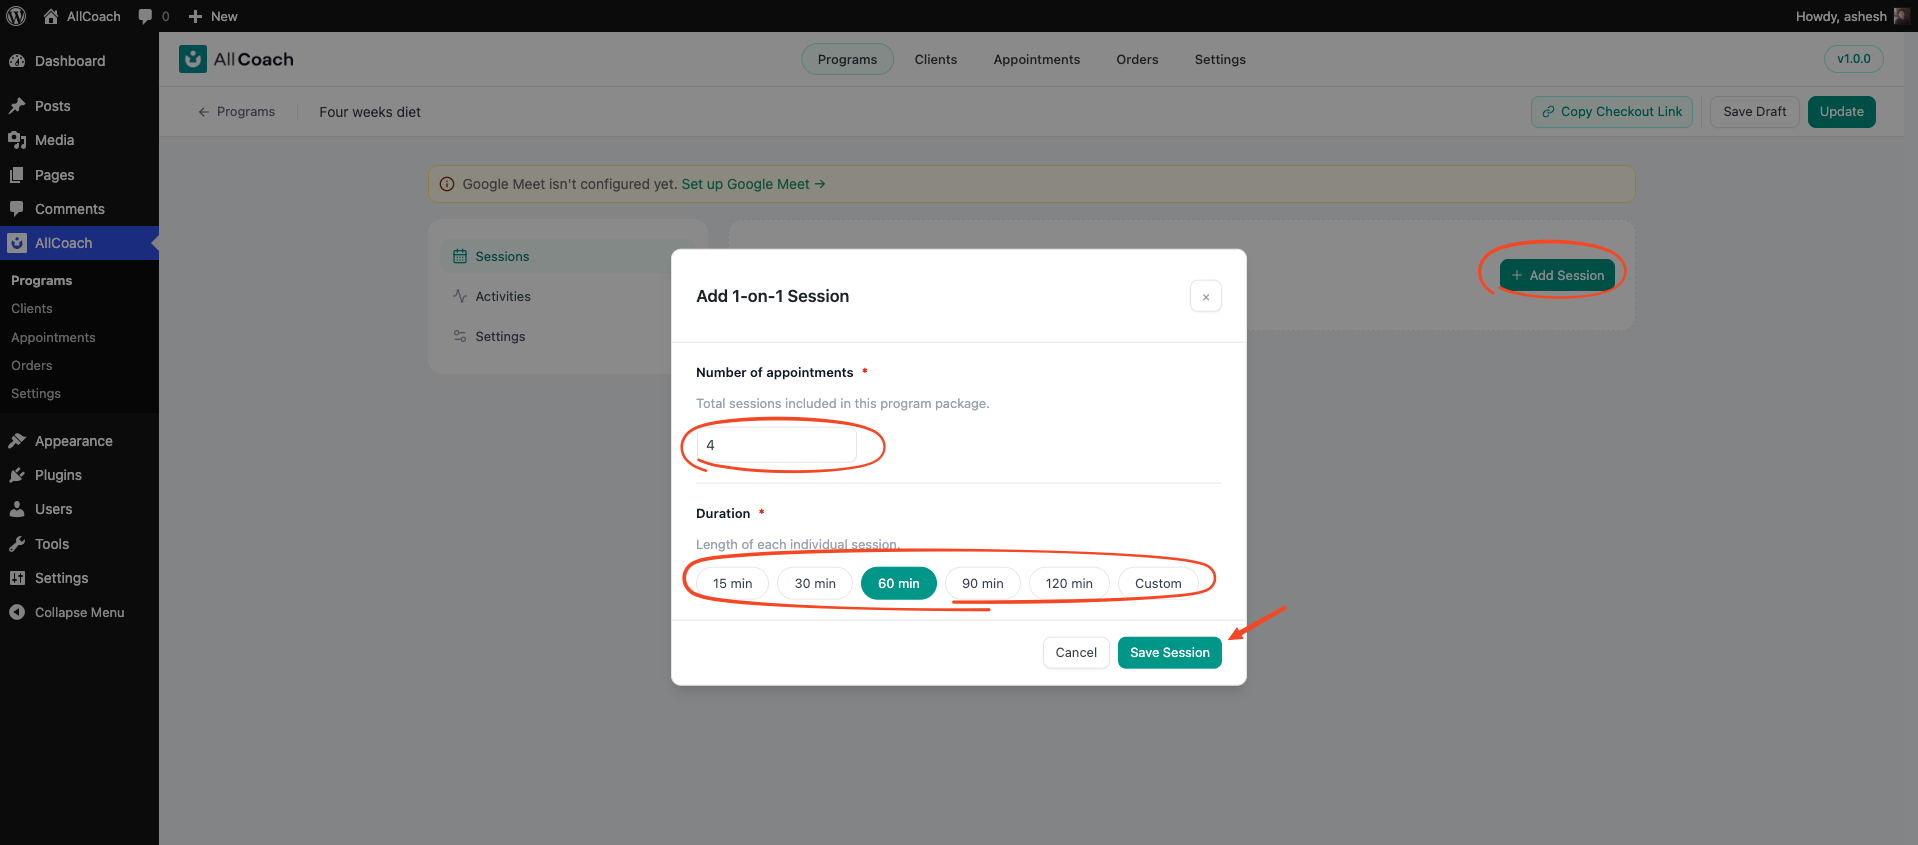
Under the Sessions tab, set how many 1-on-1 sessions are included and how long each one is.
Session Duration — length of each call (e.g. 60 minutes)
Number of Sessions — how many times clients can book (e.g. 8)
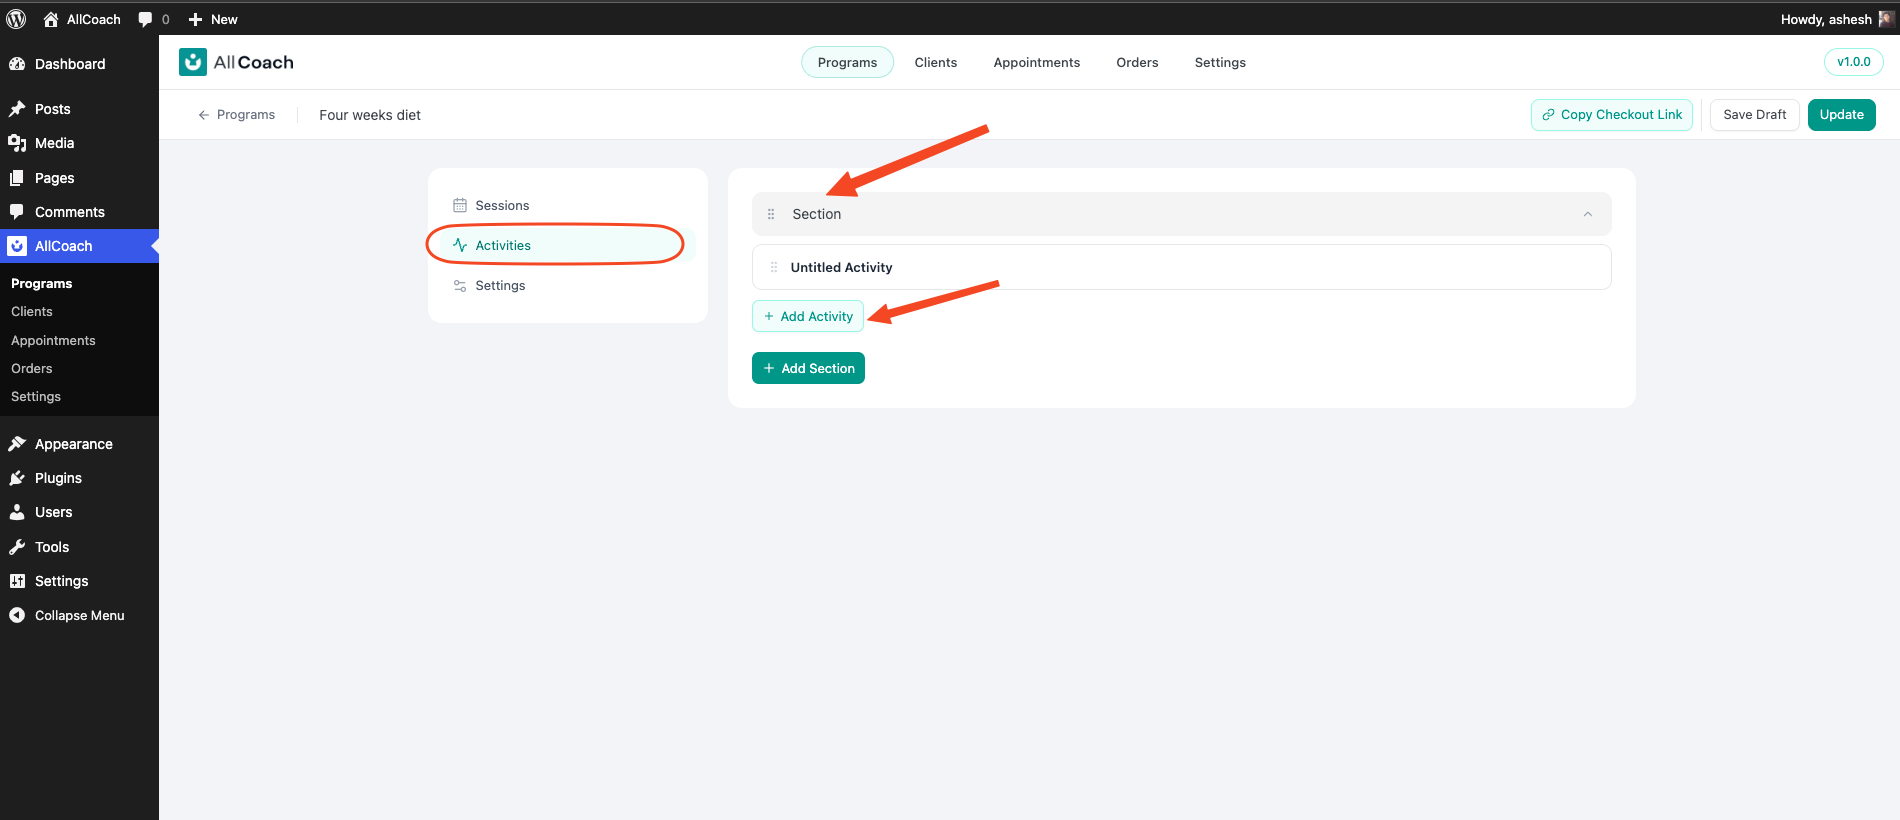
Step 3: Add Sections and Activities
Sections group your activities (e.g. one section per week or per topic).
Go to the Activities tab
Click Add Section, enter a title (e.g. "Week 1 – Foundation")
Inside the section, click Add Activity
Build the activity content — see for full details
Step 4: Activate the Program
By default, new programs are saved as Draft. Clients cannot purchase or enroll in a draft program.
When you are ready:
Open the program
Toggle Active to on
Save
Step 6: Share the Checkout Link
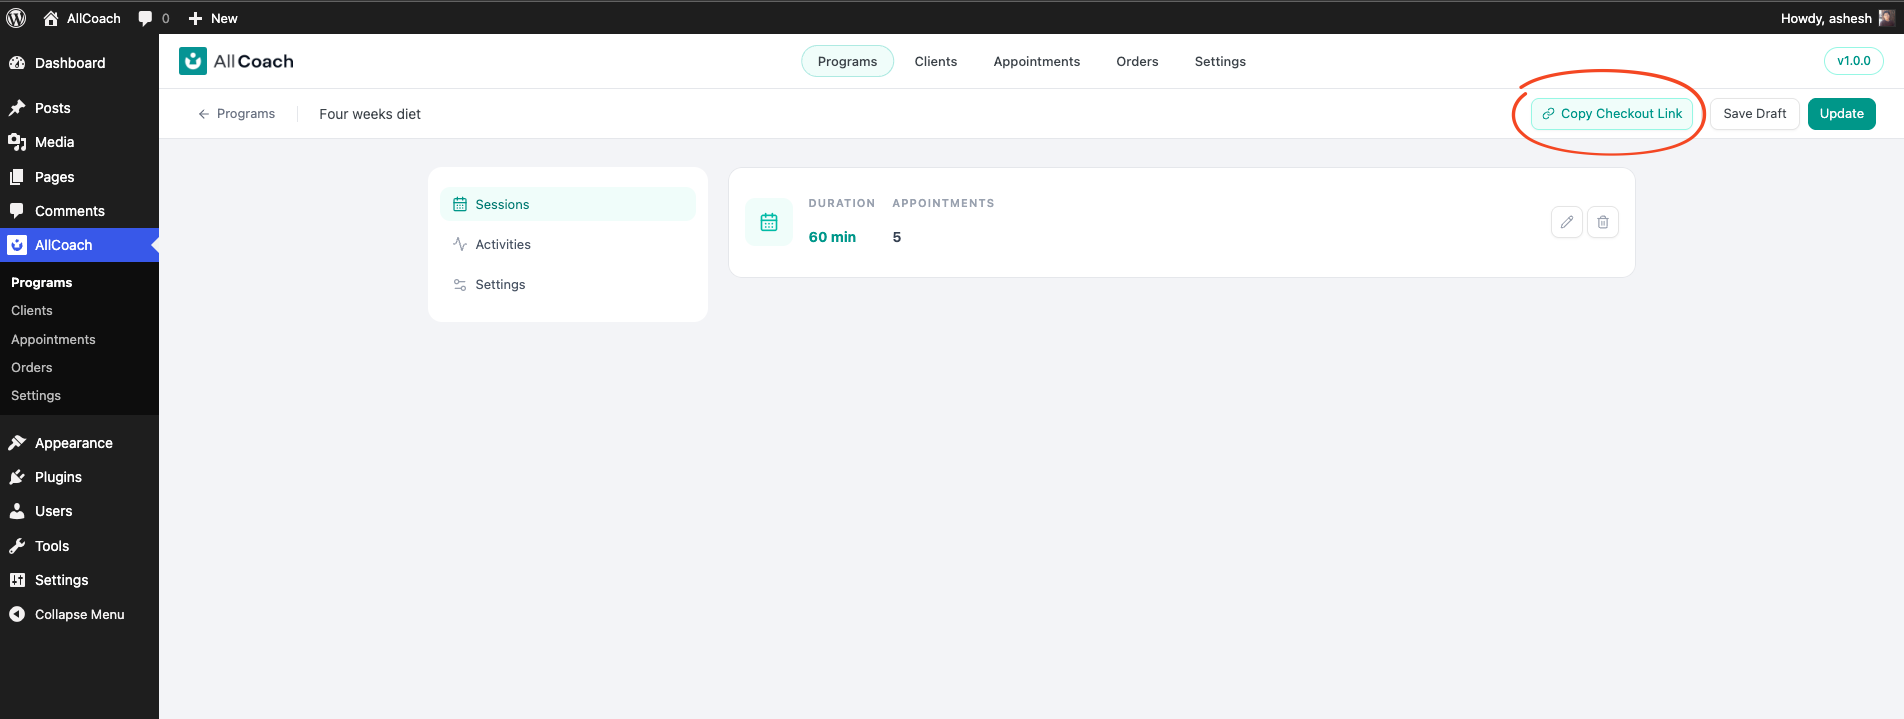
Once active, a Checkout Link is available on the program page. Copy it and share it with potential clients — via your website, email, or social media.